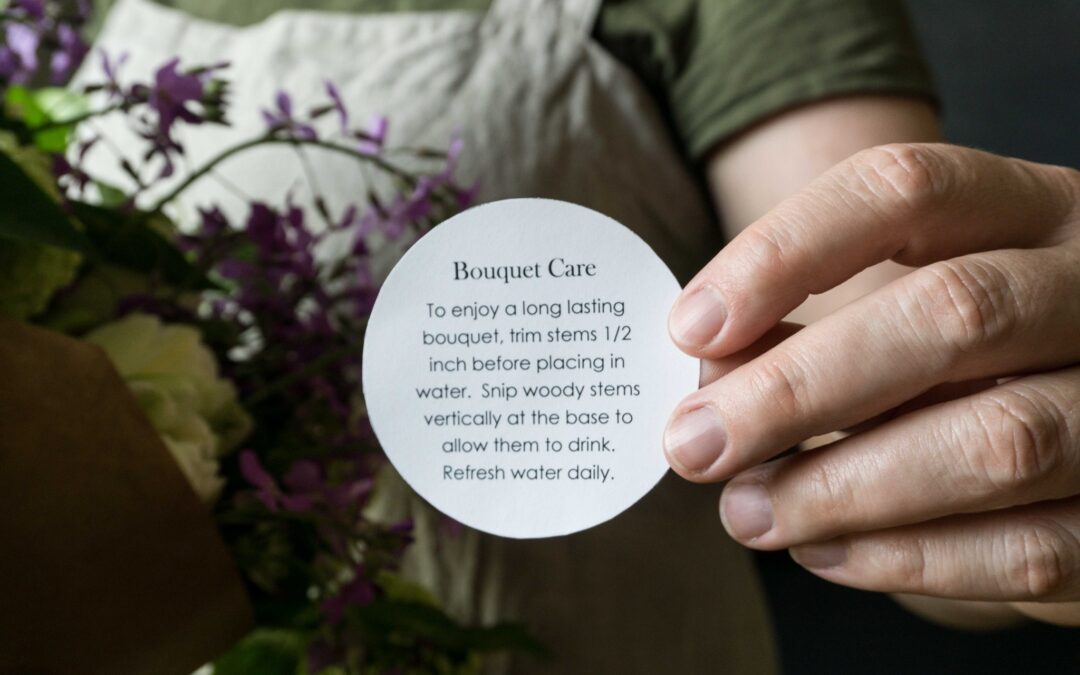
When we design farm bunches, we think about all the fun we hope you’ll have on the receiving end. No matter the reason flowers were given to you, you’ll probably want to pop them into a vase to enjoy them for more than a hot minute.
Because we want you to have fun with flowers at home, we make sure to include the types of flowers and greens that you need to make a cohesive & beautiful table arrangement. However, it isn’t quite as simple as cutting off the wrap and stuffing them into a vase. Doing a few simple things will help your bouquet look like a million bucks and last up to a week or more.

1. Trim the stems at least 1/2 inch, preferably an inch or more, before placing into water. This is the number one tip to keeping your fresh flowers fresh longer.
2. If your bouquet includes flowers and foliage with woody stems (a high likelihood when purchasing one from us!) be sure to make a vertical snip to split the stem at the base. Woody stems cannot drink through the bark so they will wilt quickly. Snipping them makes the water accessible for them. Some folks like to smash the stems of lilacs and viburnum with a hammer, but we find a snip or two up the base is sufficient hydration. Plus you don’t have to go hunting for your hammer.
3. Refresh or change the water daily. I can’t tell you how many of our table bouquets at home perish simply because we forget to make sure the flowers have enough to drink. Don’t be like us. Give those thirsty flowers a drink.


First, remove the wrapping. I just snip it open with a scissors.

Next, I sort the flowers by type, placing all the viburnum on a pile, all the lilac, and so forth.

Normally I’d have you start with the greens, but in this bunch a leafy viburnum is standing in for traditional greens. So start with the viburnum. Remove any leaves that will be below the water line. Leaves are germ-y creatures and will add bacteria into the water.

Use the greens/viburnum to give the bouquet a fun shape. Or just make it round like a donut. Or keep it low and flat like a pancake. The possibilities are endless here, so go ahead… break a few rules.

Next add in all the lilac wherever it feels like it should go. Wait for it. It will tell you.

Pop in a bit of woodland phlox. Pause to sniff it. Then pause to sneeze. Then tuck the rest of the phlox in without letting it near your nose.

And finally, slip in a few tulips, clustering some of them together to create a focal point and then letting a few hang out a bit further away, outside of the herd. Makes it more interesting that way.
And, Voila! See, it really is as easy as 1,2,3 (4,5,6,7)!
Happy flowering!
LaRonda


J